

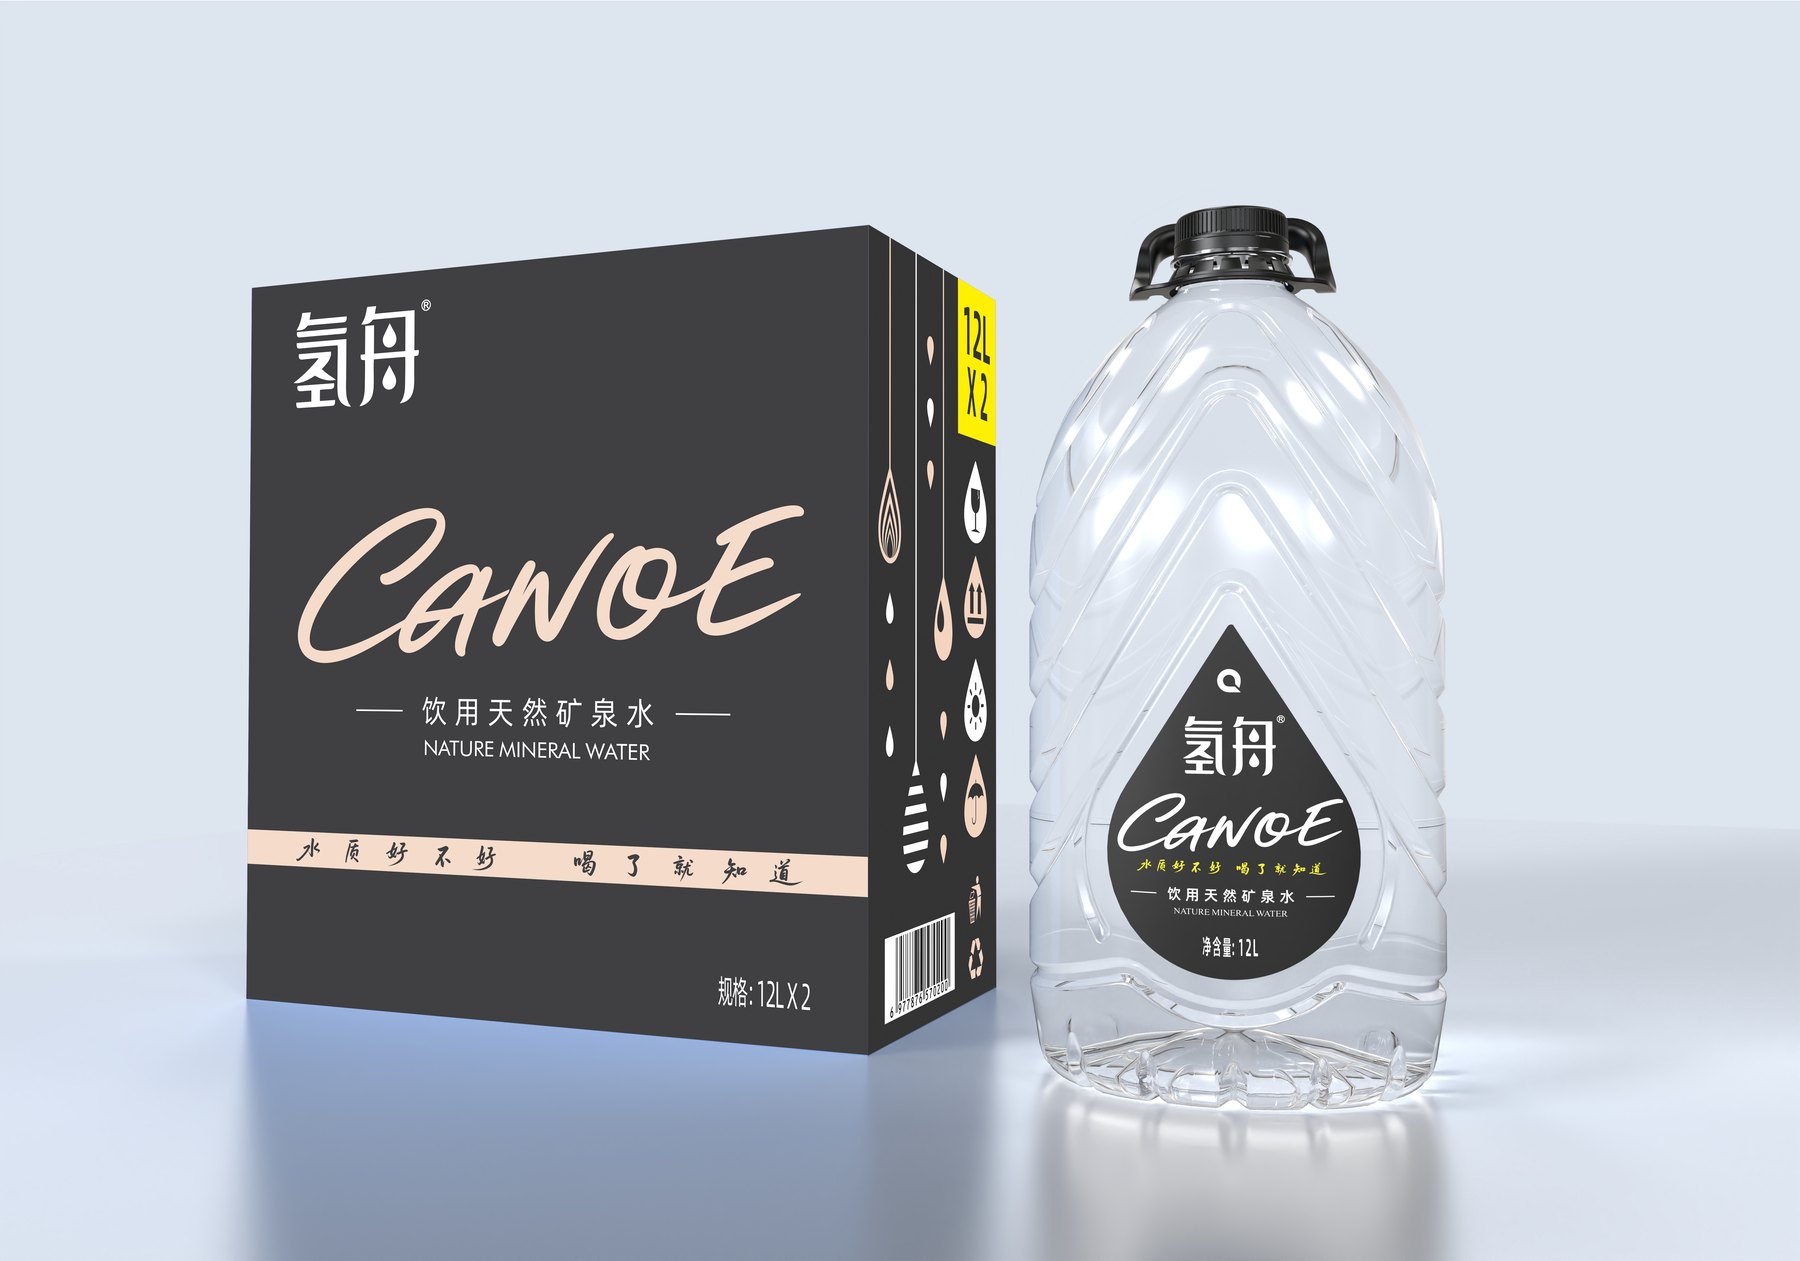
The design of a PET bottle cannot proceed directly to mold making simply after the renderings are approved. A viable design typically requires confirmation of development requirements, creative bottle design, structural evaluation, 3D modeling, packaging compatibility testing, prototype validation, and pre-mold engineering verification.
Process Overview:The design process for PET bottles typically involves confirming development requirements, conceptualizing the appearance, evaluating structural feasibility, creating 3D models, ensuring compatibility with labels and outer packaging, producing physical prototypes, refining the design, and finalizing the design before tooling. Renderings only establish the visual direction; the structure, dimensions, tactile feel, and relationship with the packaging still need to be verified step by step.
First, clarify the product development requirements.
Before beginning the design process, you should first confirm the product type, capacity, material, neck and closure types, filling requirements, labeling method, outer packaging, and launch date. If you plan to develop a series with multiple capacities, you should also clarify the range of specifications in advance.
The brand is responsible for confirming the product positioning, capacity, distribution channels, and launch plan; the brand must also coordinate with packaging, filling, and manufacturing suppliers to verify the specifications for bottle necks, caps, filling, sealing, and case packing. The design team will develop the proposal within the confirmed parameters and flag items that require engineering review. For reference, see the following materials:What to Prepare Before Designing a New Bottle Shape。
Bottle Design Concepts and Visual Proposals
This phase primarily focuses on defining the bottle’s silhouette, proportions, the design language of the shoulder and base, the grip area, texture, and brand identity. The design emphasis is not on layering patterns, but rather on ensuring that the form aligns with the product’s positioning, usage scenarios, and shelf recognition.
It is not recommended to simply scale up or down different bottle capacities by the same proportion. When the capacity changes, the bottle proportions, label area, grip placement, and relationship within the product line all need to be reevaluated.
Structural Feasibility Assessment
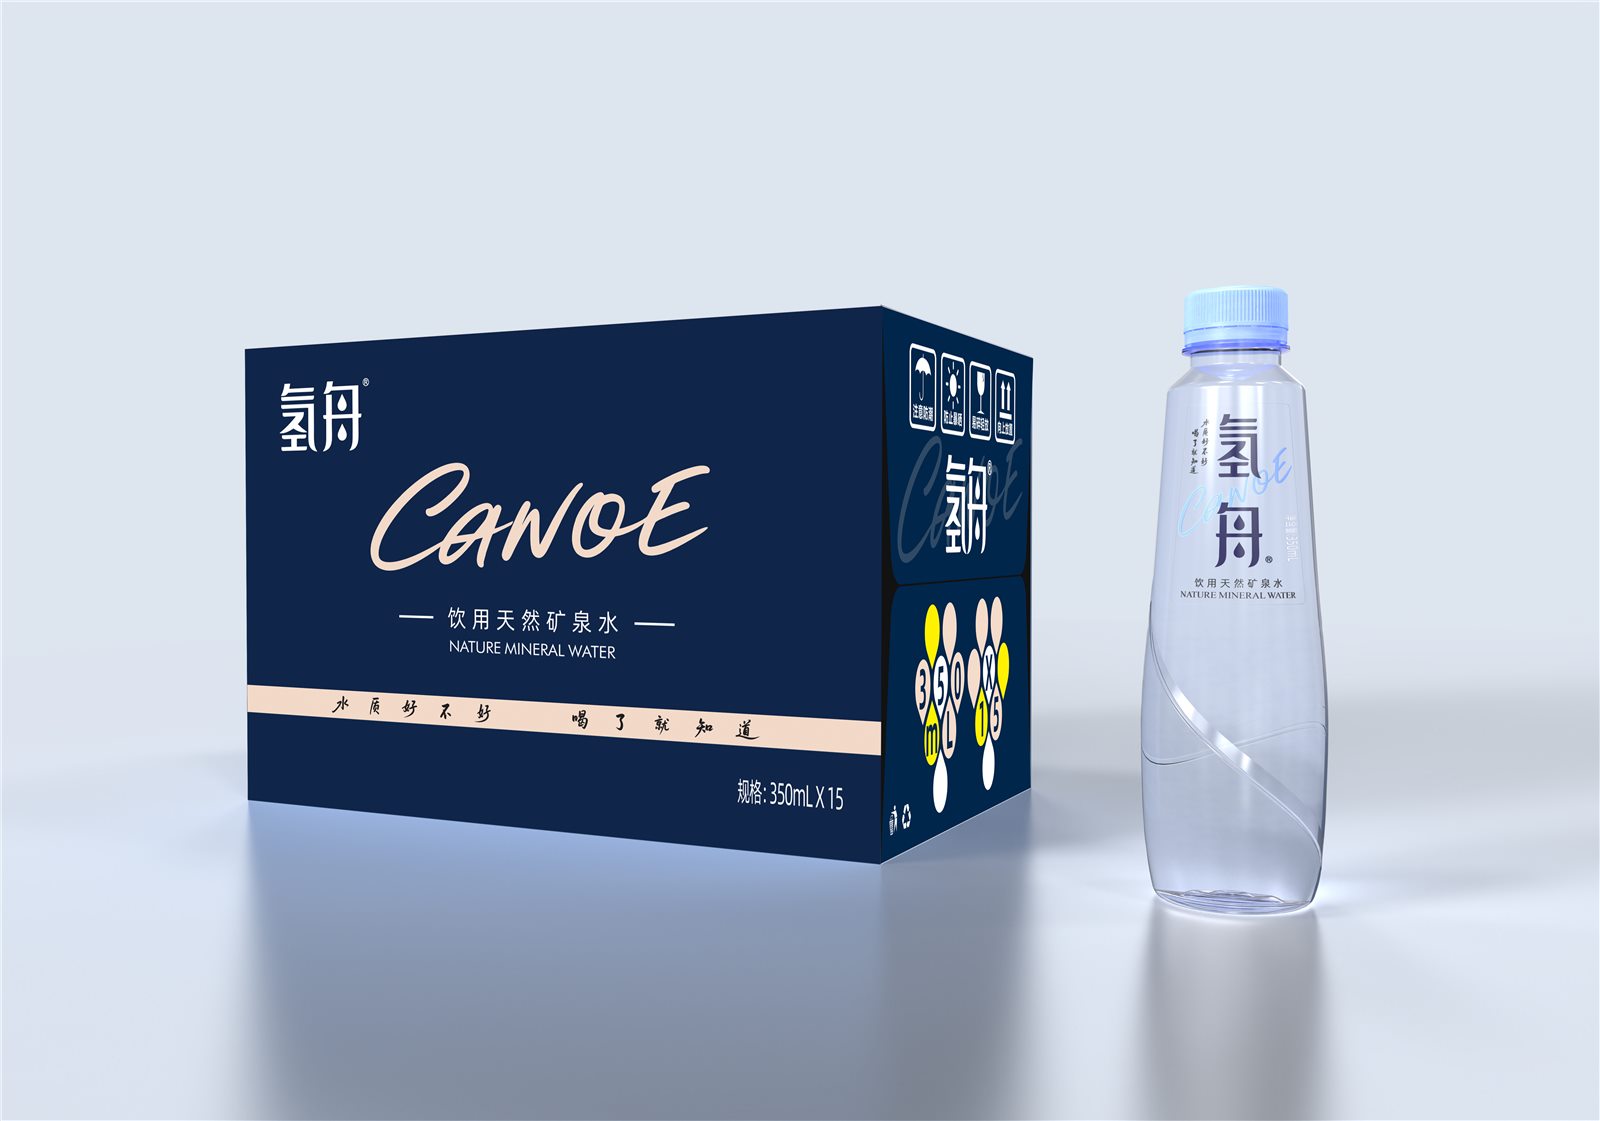
Once the rendering is finalized, it is necessary to determine whether the bottle shoulder, body, base, transitions, grip area, and label surface are suitable for further refinement. Just because a design looks good visually does not mean it is structurally sound; structural issues should be identified as early as possible before mold making begins, rather than being left to be addressed during trial molding.
3D Modeling and Dimensioning
3D modeling isn’t simply a matter of “turning a rendering into a 3D model.” Modeling requires recreating accurate proportions and surface relationships, as well as fine-tuning the dimensions of the bottle shoulder, base, grip, and other details to lay the groundwork for prototype production and subsequent engineering phases.
The design model must still be verified against actual capacity, bottle necks, filling requirements, and supplier specifications; it cannot replace the engineering validation conducted by the mold manufacturer and the production team.
Label and Packaging Compatibility
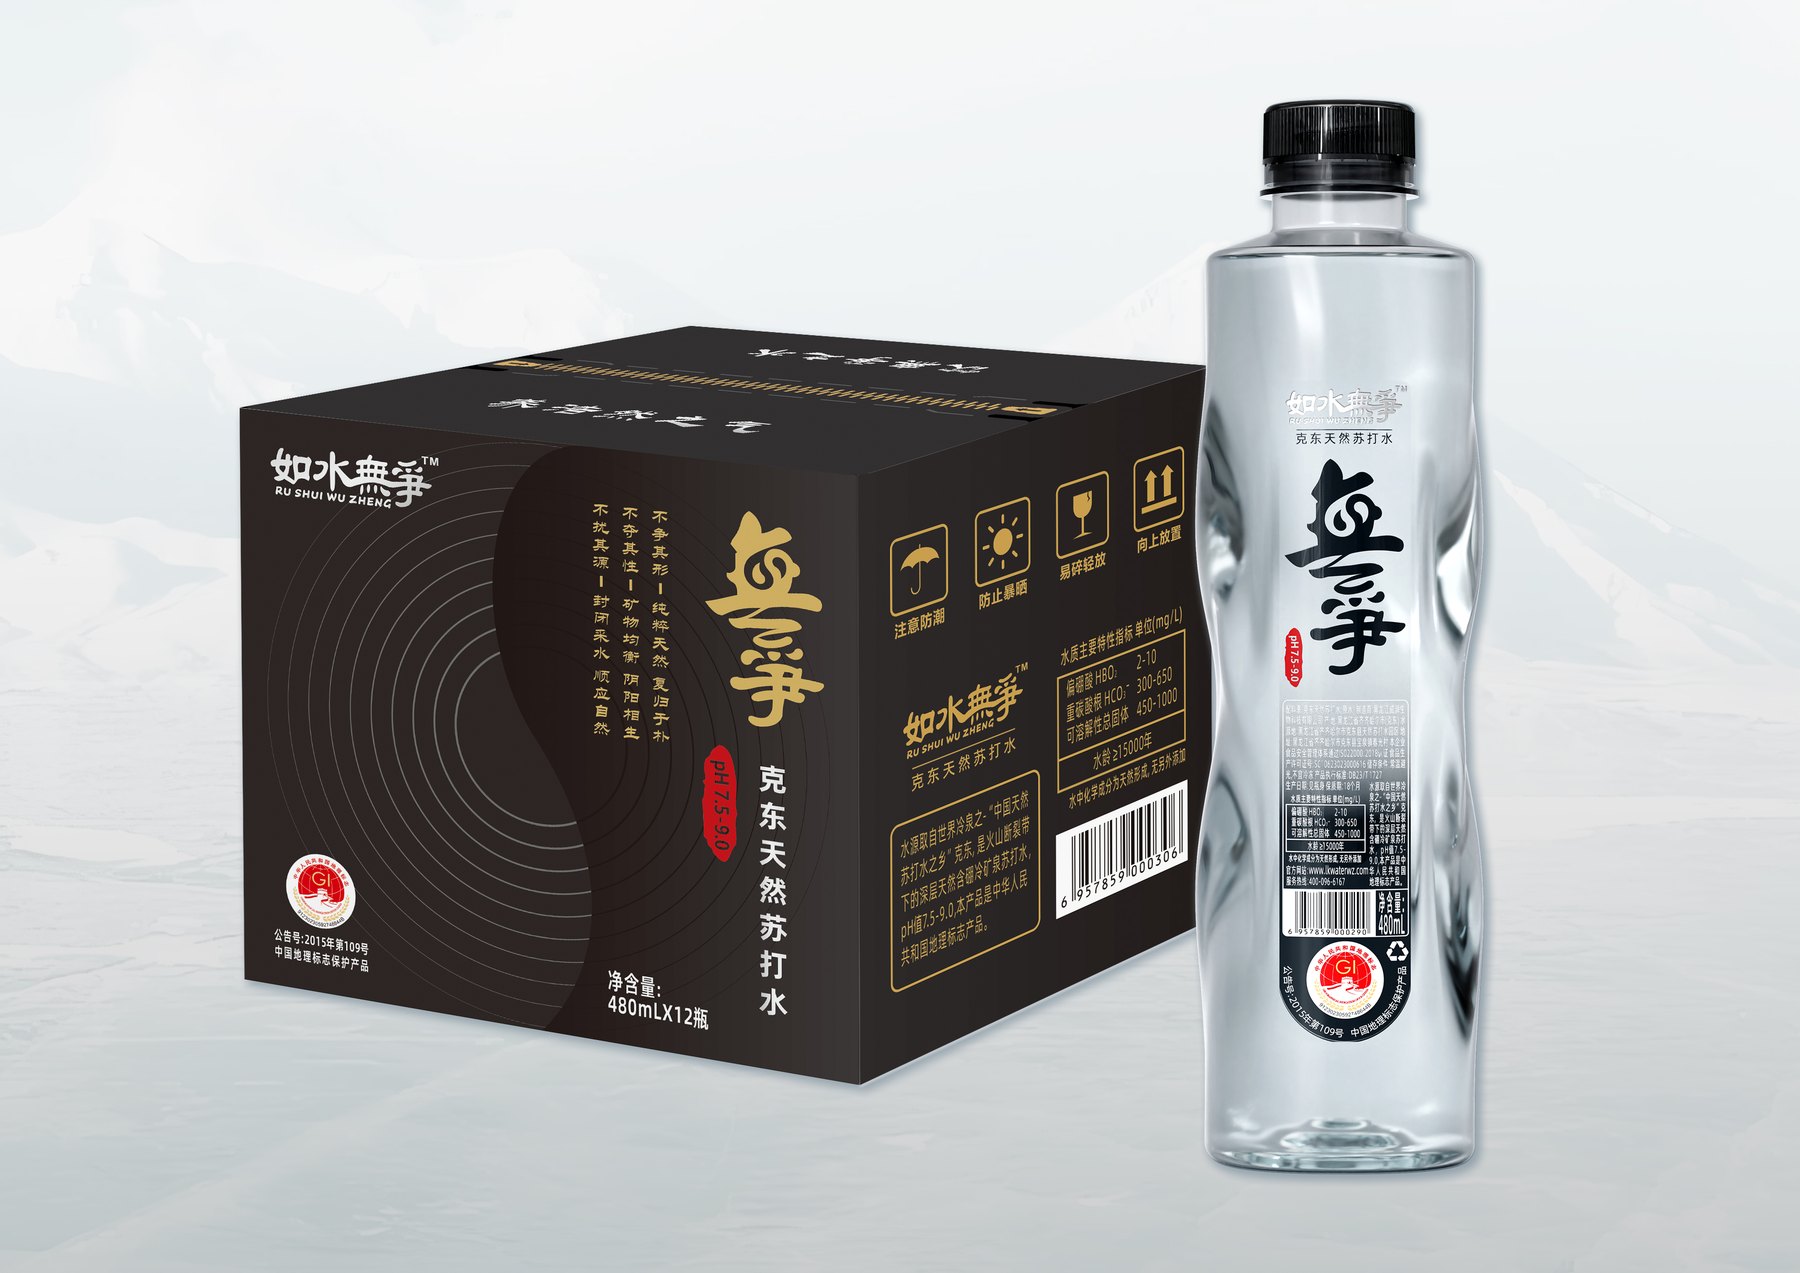
A bottle does not exist in isolation. The placement of the label, the information on the front and back, the brand logo, how the bottles are packed, and the outer packaging—whether a color box or gift box—all affect the final visual appearance. A bottle shape that looks harmonious on its own may, once labeled, appear disproportionate or have key information obscured by the bottle’s curved surface.
Prototype Validation
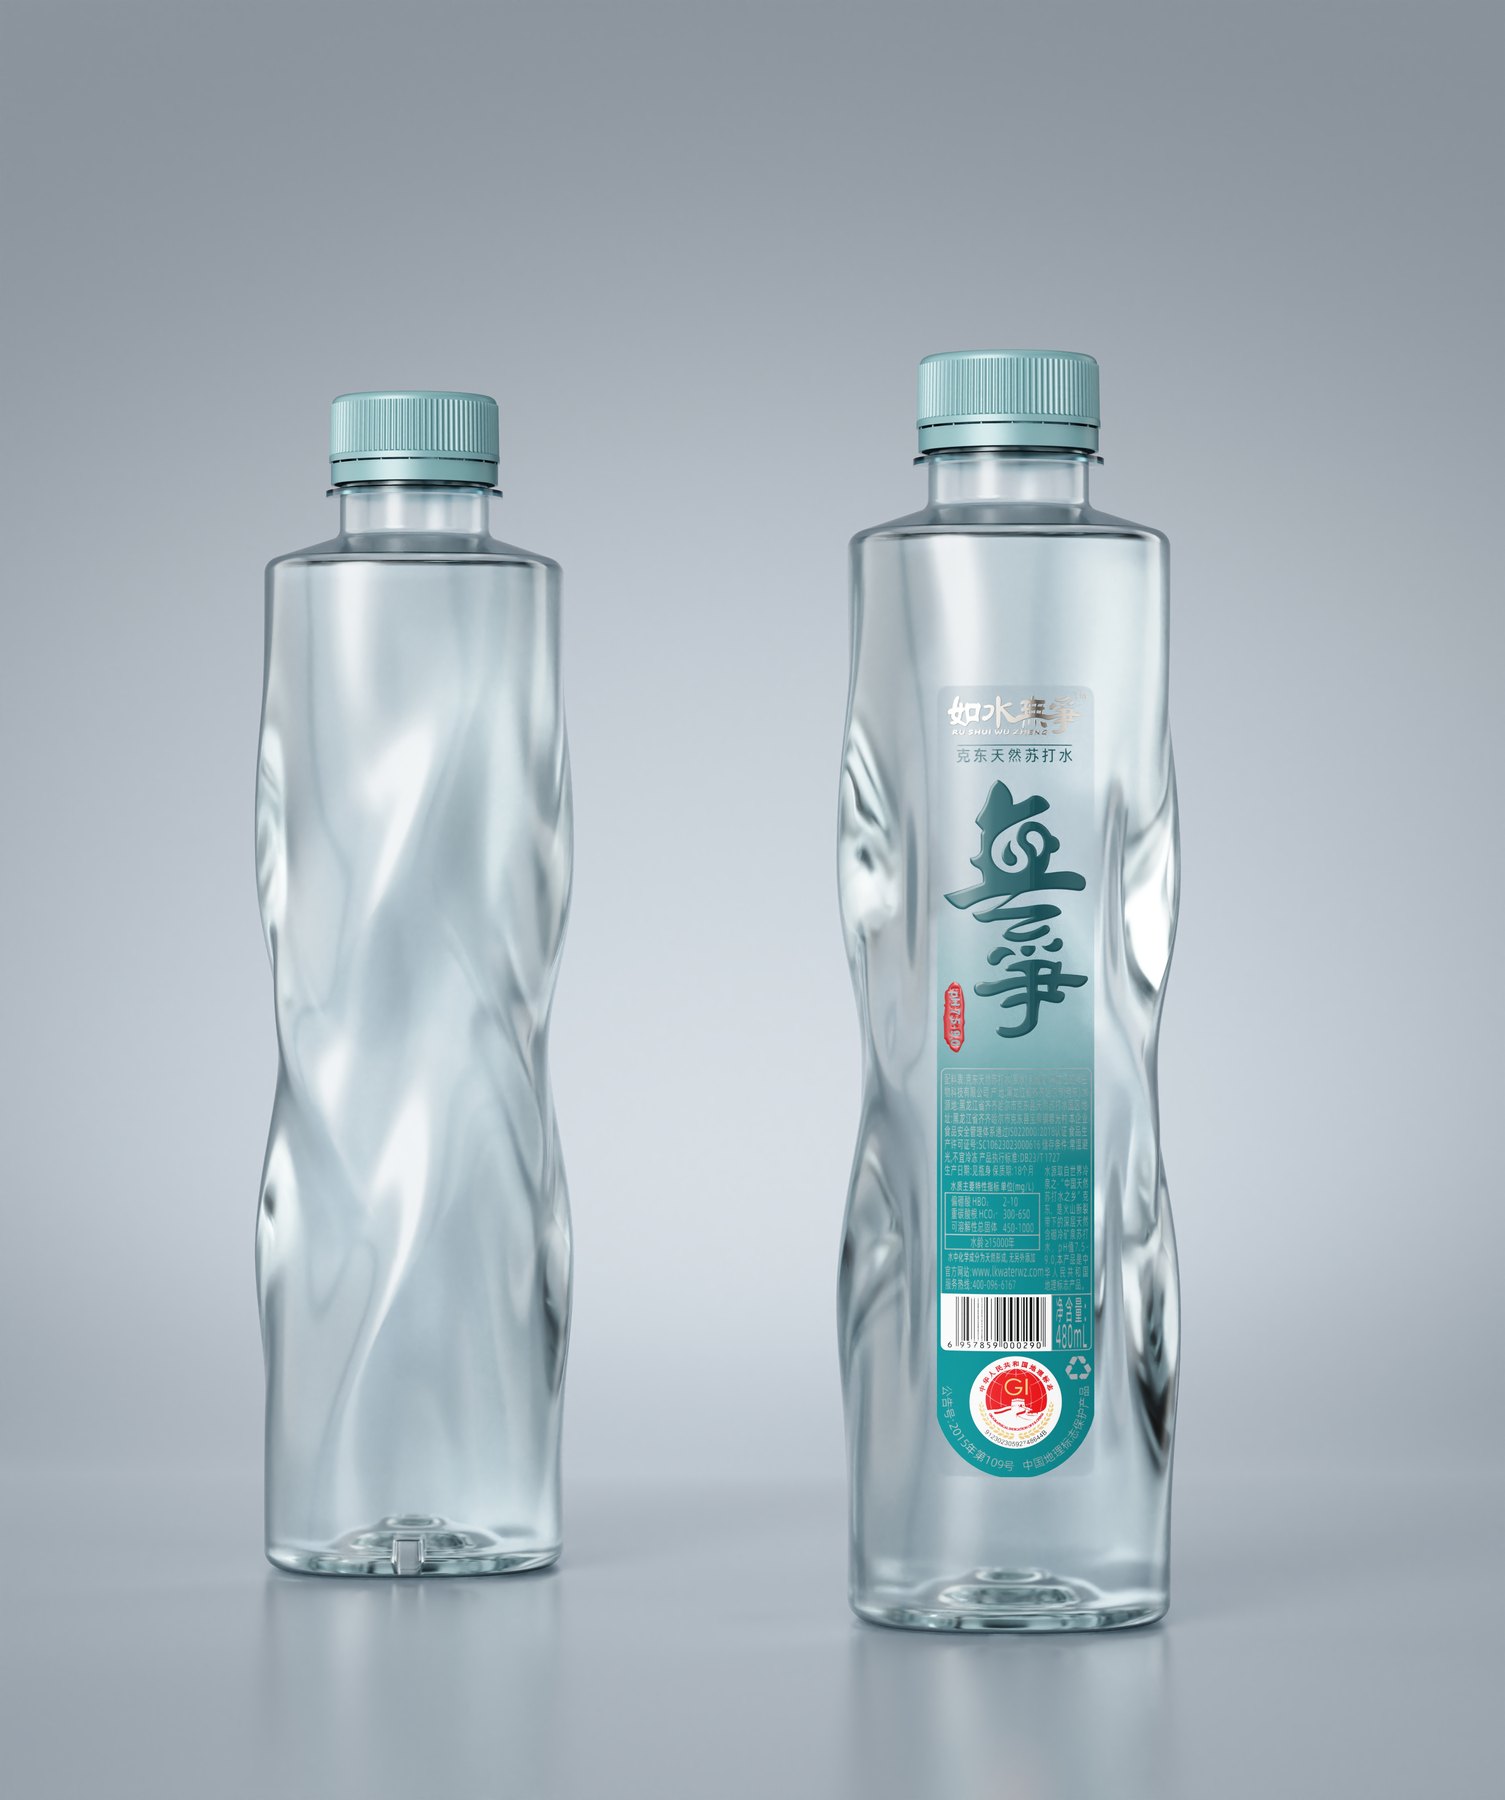
Prototypes are used to check the actual proportions, the feel in the hand, bottle details, label fit, and visual relationships from different angles. A bottle viewed on a computer screen may feel completely different from one held in your hand, so creating prototypes is not a mere formality—it is a critical verification step before tooling begins.
In Meilin’s completed drinking water and beverage bottle design projects, the proportions between the bottle shoulder and label—which appear harmonious in the rendering phase—may still require minor adjustments once prototypes are produced. For multi-size series, the contours, label surfaces, and relationships within the series are examined separately for each size, rather than simply replicating the same proportions across all sizes.
Pre-Molding Confirmation and Implementation Support
Before officially proceeding with mold making, it is necessary to confirm whether the design has been finalized, whether key dimensions have been verified, whether the placement of labels relative to the outer packaging has been determined, whether corrections based on prototype feedback have been made, and whether all required engineering documentation has been submitted.
The design team, the brand, and the actual suppliers should each verify their respective scopes of responsibility: the design team confirms the design and the agreed-upon design specifications; the brand confirms the product and commercial terms; and the mold and manufacturing suppliers make engineering assessments based on actual equipment, materials, and production requirements. Proceeding without adequate verification typically results in higher costs for subsequent rework.
A Few Common Pitfalls Customers Tend to Fall Into
If the renderings look good, they assume they can go straight into tooling.
Renderings are primarily intended to illustrate the exterior appearance and cannot replace structural assessments, 3D data, or engineering approvals from suppliers.
To change 330 mL to 550 mL, simply scale it up proportionally.
We do not recommend simply scaling up the design in the same proportion. Changes in size will affect the visual center of gravity, the grip position, the label area, and the relationship with the packaging.
I don't think a prototype is necessary.
Skipping physical verification can easily lead to problems with proportions, feel, or labeling being deferred to later stages, which are more costly.
Consider the bottle shape, label, and outer packaging separately
These three factors collectively determine the final presentation outcome; if they are advanced separately without overall coordination, conflicts are likely to arise during implementation.
What is the real goal of PET bottle design?
A well-developed PET bottle design addresses more than just aesthetics; it must also consider brand recognition, product positioning, structural soundness, packaging compatibility, and practical implementation. ViewDrinking Water and Mineral Water Projects和More Real-World Design Examples...you can gain a deeper understanding of how bottle shapes and packaging work together.
Shenzhen Meilin Industrial Design Co., Ltd. offers bottle packaging design services ranging from bottle concept development, packaging design, 3D modeling, and prototyping to mold-making support. For more information on our services, seeBottle Industrial Design; Existing project materials are available viacontact pageSubmit.
Frequently Asked Questions
What are the typical steps involved in designing PET bottle shapes?
This typically includes confirming development requirements, conceptualizing the design, evaluating the structure, creating 3D models, ensuring packaging compatibility, validating prototypes, refining the design, and finalizing details before mold production.
Why is 3D modeling still needed after the renderings have been approved?
Renderings convey the visual direction, while 3D models are used to verify actual proportions, surfaces, the bottle’s shoulders and base, and the grip, and to provide a foundation for prototyping and engineering development.
Why is it recommended to create a prototype before making a mold for PET bottle design?
Samples allow you to inspect proportions, texture, details, and label placement—which can be difficult to assess accurately on a screen—helping to identify and correct issues before mold making.
Can the 330 mL and 550 mL bottle designs be scaled up in the same proportion?
We do not recommend simply scaling up the design in the same proportion. Changes in capacity will affect the bottle’s proportions, grip position, visual center of gravity, label placement, and packaging layout; therefore, these elements should be reevaluated and adjusted to accommodate the new specifications.